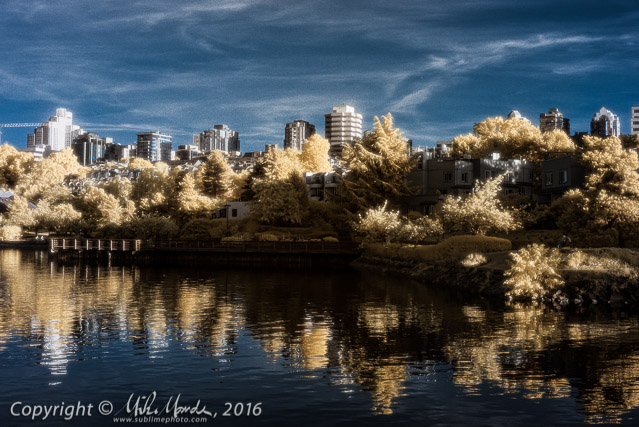
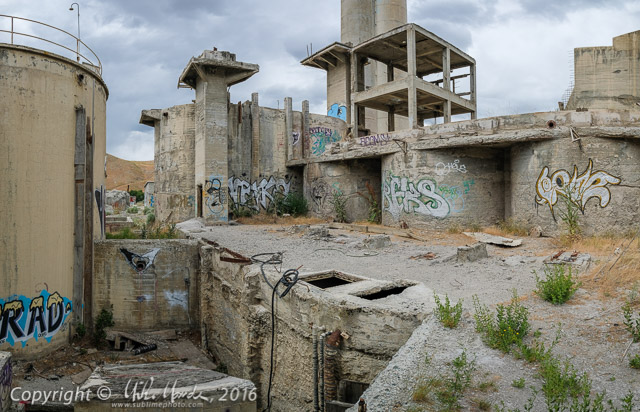
Gallery (30 images): Infrared modified Fujifilm X-E2
Over the years I've had several digital cameras dedicated to IR photography, first starting back in 2000 (if memory serves) with a Nikon Coolpix 800, then followed by an Olympus C4040 and then a Nikon Coolpix 5400. With those cameras, I used deep IR filters on otherwise stock cameras and shutter speeds were long enough in full sunlight, that I often had to use a tripod. I never used those cameras for colour photography since I felt that their image quality wasn't good enough, however with the IR grain and glow added in post, they seemed to mostly suffice for my B&W IR ambitions. Back then, I was shooting medium format transparency film with a Pentax 67II, my main camera at the time.
Then, after buying a Canon EOS-30D in 2006, I decided to have my very first digital SLR that I had bought in 2004, an EOS-20D, converted to a dedicated IR camera, letting LifePixel do the modification with a standard 720nm bandpass IR filter. I had that camera for many years, finally selling it when I started to use Panasonic Micro-4/3 bodies. In 2012, when I was shooting with a GH2, I decided to buy a Panasonic GF2 body and immediately had it converted to shoot IR (720nm as well), and used LifePixel once again. With a standard DSLR, one has to worry that IR light doesn't focus in the same plane as visible light, leading to focus errors when the visible light is used either by the DSLR's AF sensor, or by you if manually focusing via the camera's focusing screen. This is why many older lenses had an IR offset dot on their focusing scale, so you could manually shift the focus to compensate. Well, with a mirrorless camera like the GF2, the main image sensor is being used to focus, and since the IR filter is, of course, in front of the image sensor, you get perfectly accurate AF, as well as being able to see the IR effect through the EVF or back LCD screen. Overall, this made shooting IR much more pleasant and accurate compared to a modified DLSR!


